The India eVisa is an electronic travel authorisation issued by the Bureau of Immigration, applied for exclusively at indianvisaonline.gov.in. UK citizens must obtain an eVisa before travelling – no visa-on-arrival exemption exists. The full application process – from registration to approved ETA download – takes approximately 4 business days and costs from ~$25 USD (~£20 GBP). If you want to know how to apply for eVisa India, this walkthrough covers every form field, document upload, payment step, and submission requirement.
What Is the India eVisa and Who Can Apply?
The India eVisa is a limited-category electronic travel authorisation issued by the Bureau of Immigration under the Ministry of Home Affairs, required for all UK passport holders before travel. The portal is designed and maintained by the National Informatics Centre (NIC). The India eVisa application process covers five visa categories, each with distinct validity periods and entry rules.
| Category | Validity | Max Stay | Entries |
|---|---|---|---|
| e-Tourist Visa (eTV) | 30 days / 1 year / 5 years | Per validity option | Double (30-day) / Multiple (1-yr & 5-yr) |
| e-Business Visa | 1 year | – | Multiple entry |
| e-Medical Visa | – | 60 days | Triple entry |
| e-Conference Visa | – | 30 days | Single entry |
| e-Medical Attendant Visa | – | 60 days | Triple entry |
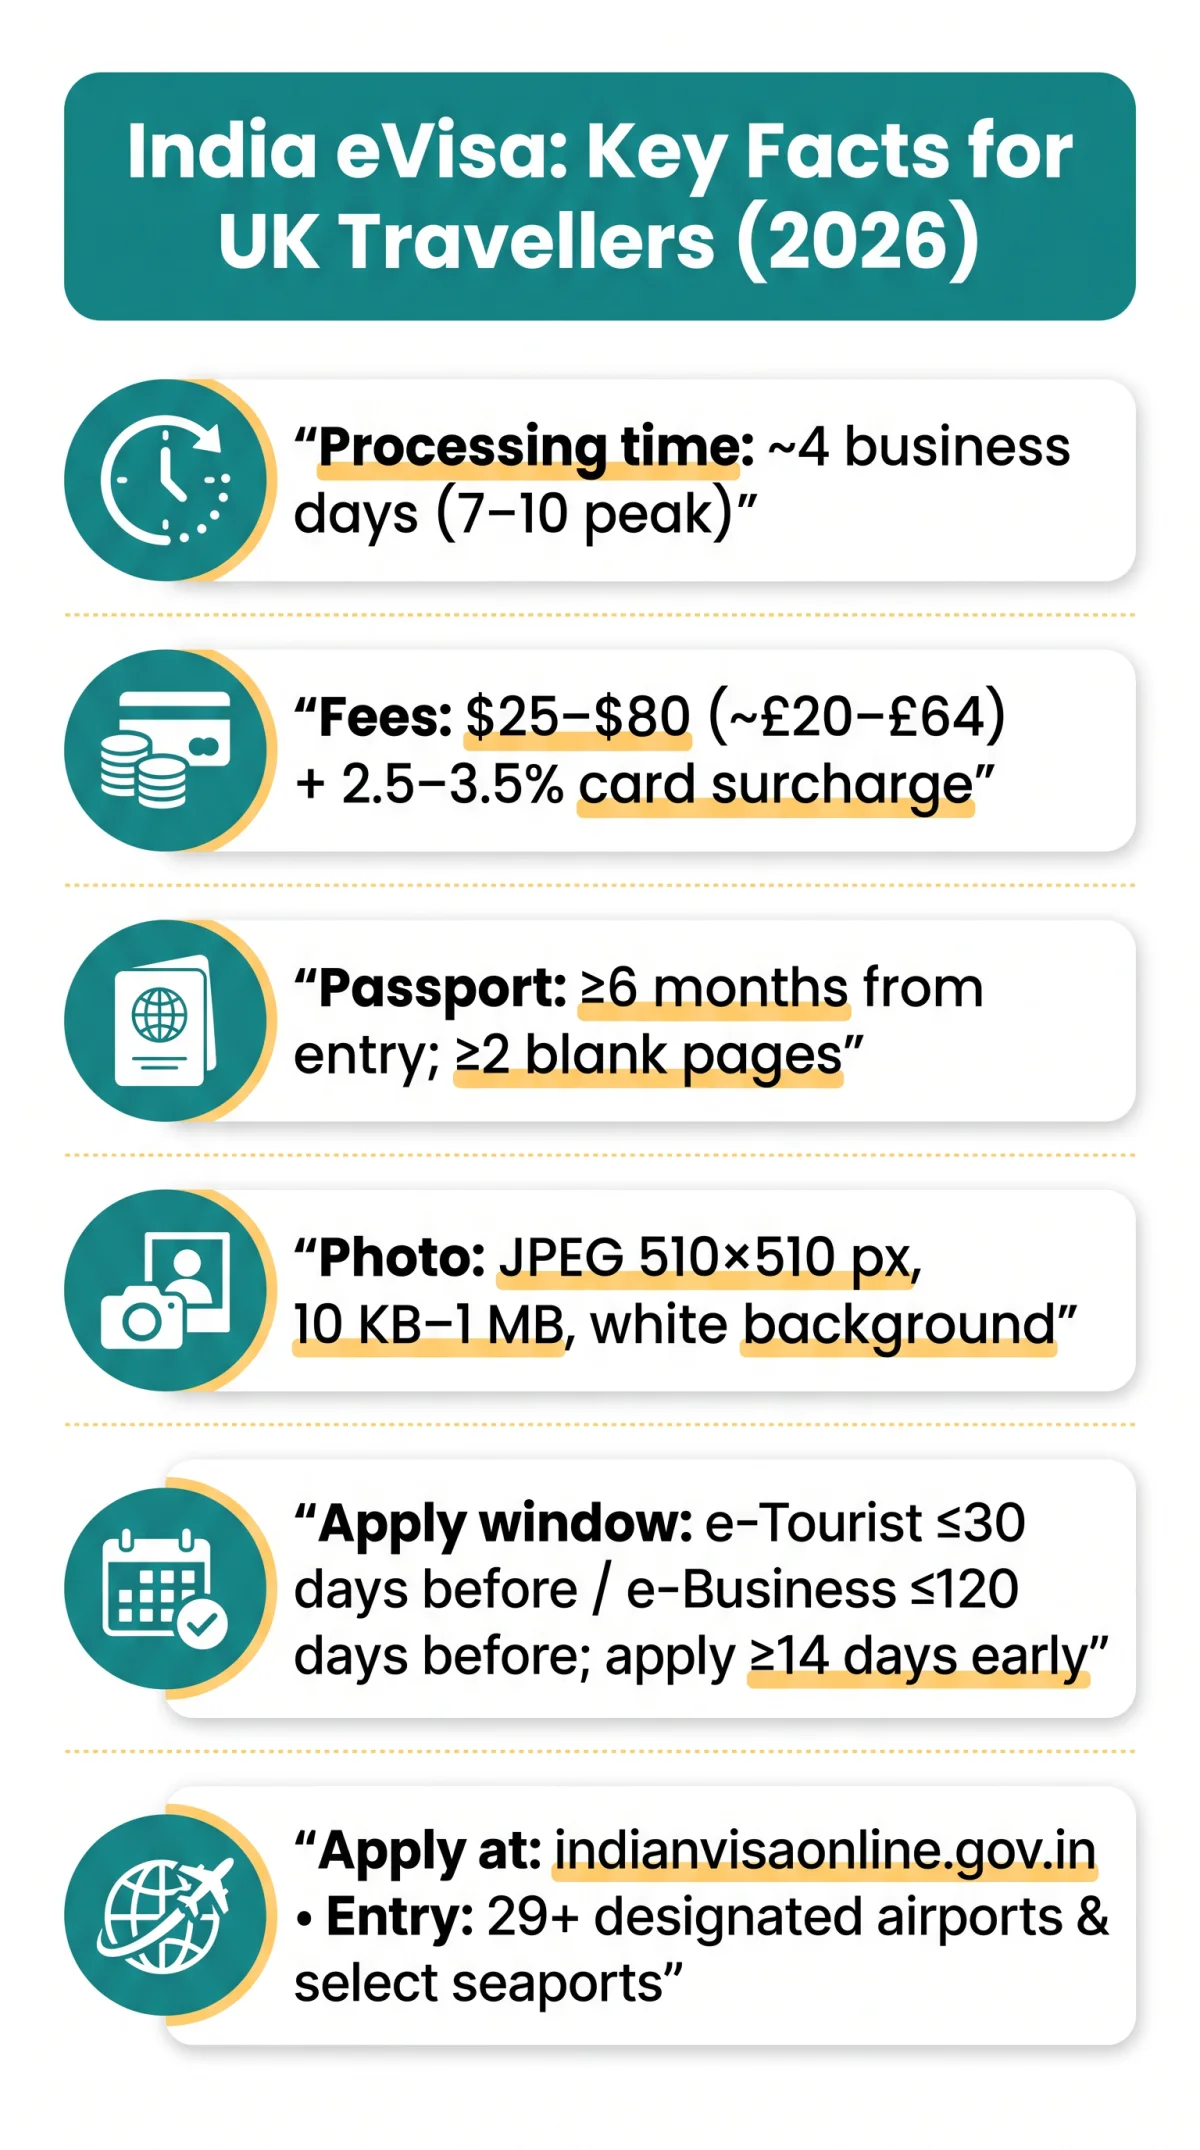
UK citizens must obtain an eVisa – no visa-on-arrival exemption applies (VoA is limited to nationals of Japan, South Korea, and the UAE, with UAE nationals requiring a prior e-Visa or regular/paper visa for India). Your passport must hold minimum 6 months validity from the date of entry into India and at least 2 blank pages. The India eVisa application process permits entry through 29+ designated airports (Delhi DEL, Mumbai BOM, Chennai MAA, Kolkata CCU, Bengaluru BLR, Hyderabad HYD) and select cruise seaports (Mumbai, Goa). OCI Card holders do not need an eVisa, as they travel under a separate authorisation.
Documents and Photo Specifications You Need Before Starting
Start only with a passport valid ≥6 months from entry, ≥2 blank pages, a JPEG photo (510×510 px, 10 KB-1 MB, white background), and a JPEG passport scan (10 KB-300 KB, all corners visible, legible MRZ).
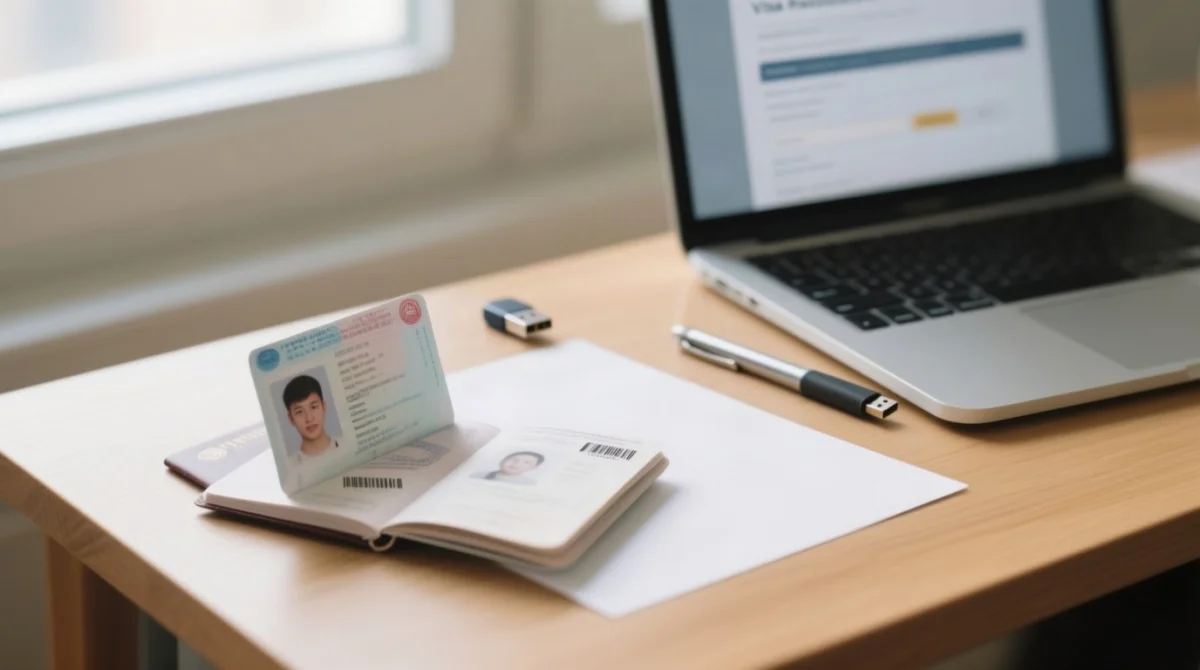
- Valid passport: minimum 6 months from entry date, at least 2 blank pages
- Digital photo: JPEG, 510×510 px equal dimensions, white background, face 50-60% of frame, 10 KB-1 MB, taken within last 6 months, no glasses or hats
- Passport bio-page scan: JPEG, 10 KB-300 KB, uncompressed, all four corners visible, legible MRZ zone, no glare or shadows
- Self-Declaration Form: submit at airsuvidha.civilaviation.gov.in before reaching immigration counters
Digital Photo Specifications – Accepted vs Rejected
| Accepted ✅ | Rejected ❌ |
|---|---|
| JPEG, 510×510 px, 10 KB-1 MB | Wrong format, incorrect dimensions, file outside size range |
| Plain white background | Coloured or patterned background |
| Face 50-60% of frame, neutral expression | Face too small, cropped ears, blurry |
| No glasses, no head coverings | Sunglasses, hats, shadows on face |
The most common cause of India eVisa rejection is a photo that fails these specs. Use a free image resizer to crop to 510×510 px and a white wall or lightbox to eliminate shadows.
Designated Entry Points for UK Travellers
| Airport | Code |
|---|---|
| Delhi | DEL |
| Mumbai | BOM |
| Chennai | MAA |
| Kolkata | CCU |
| Bengaluru | BLR |
| Hyderabad | HYD |
The India eVisa application process also accepts entry at select cruise seaports, including Mumbai and Goa. The full list of 29+ designated airports is available on the government portal.
Registration – Creating Your Account on the eVisa Portal
Register at indianvisaonline.gov.in to get a 15-digit Temporary Application ID – use it to resume your form later via “Complete Partially Filled Application.” The India eVisa application process requires the following registration steps:
Select Visa Category
Navigate to the portal, select Visa, then choose your category
Enter Your Details
Full name, date of birth, nationality, email, password, and CAPTCHA
Verify Email & Save ID
Confirm via email link and save your 15-digit Temporary Application ID
How the Save-and-Return System Works (Temporary Application ID)
After registration, the portal generates a 15-digit Temporary Application ID. If you cannot complete the form in one sitting, use this ID to save your progress. To resume, navigate to “Complete Partially Filled Application” and enter your 15-digit ID. Always store this number – without it, you cannot retrieve an incomplete application.
Inside the eVisa Application Form – Field-by-Field Walkthrough
The India eVisa form has fields for surname, given names, date of birth, gender, marital status, father’s and mother’s names, UK address, occupation, religion, visible marks, countries visited in last 10 years, hotel name as India reference, and security questions. Each field must match your passport exactly with no diacritics.
Personal Details and Parentage
The India eVisa application process requires surname and given names to match your passport character-for-character with no diacritics. Enter date of birth, place and country of birth, gender, marital status, and your father’s and mother’s names. Dual-nationality UK applicants: enter the passport nationality, not country of residence.
Address, Employment and Travel History
Provide your present UK address with postcode, select occupation from the dropdown (government, business, housewife, student, journalist, other), state religion and visible identification marks. For countries visited in the last 10 years, populate the field rather than leaving it blank – a populated answer signals a genuine traveller and reduces processing delays.
Reference in India and Security Questions
Enter your hotel name as the reference in India. State expected duration of stay and places to visit. Answer visa refusal and criminal record questions truthfully – “Yes” does not auto-reject but requires explanation. If no fixed itinerary exists, list major cities (e.g., “Delhi, Mumbai, Rajasthan”).
Uploading Your Documents – Photo and Passport Walkthrough
Before payment, upload: a digital photo (JPEG, 510×510 px, 10 KB-1 MB) and a passport scan (JPEG, 10 KB-300 KB, all corners visible, legible MRZ). Files outside these ranges are rejected instantly.
Photo Specification Checklist
Ensure: JPEG format, 510×510 px equal dimensions, white background, face 50-60% of frame, neutral expression, no glasses or hats, file size 10 KB-1 MB, taken within last 6 months. Use a free image resizer to crop and compress before uploading.
Passport Bio-Page Upload Guide
Lay the passport flat on an even-lit surface – avoid flash glare. The system checks: full page visible, all four corners uncropped, readable MRZ zone, no editing or filters. A flatbed scanner produces the clearest results; smartphone scans work if lighting is even and the page is flat.
eVisa Types, Fees and Payment – What You Pay and How
India eVisa fees range from ~$25 USD (~£20 GBP) to ~$80 USD (~£64 GBP) depending on category. Payment is processed via an Indian banking gateway (typically SBI ePay) accepting Visa and MasterCard (AmEx varies), with a ~2.5-3.5% surcharge above the listed fee. PayPal is not accepted. Fees verified on the portal as of August 2026 – always check current amounts before payment.
| Visa Category | Approx. Fee (USD) | Approx. Fee (GBP) |
|---|---|---|
| 30-day e-Tourist Visa (eTV) | ~$25 | ~£20 |
| 1-year e-Tourist Visa (eTV) | ~$40 | ~£32 |
| 5-year e-Tourist Visa (eTV) | ~$80 | ~£64 |
| e-Business Visa | ~$80 | ~£64 |
| e-Medical Visa | ~$25 | ~£20 |
Card Number
Enter your credit or debit card number.
Expiry Date
Provide the card expiry date.
CVV
Enter the CVV security code.
Billing Address
Match the billing address to your card statement.
Confirm Amount
Review and confirm the total payment amount.
OTP / 3D Secure Verification
Complete the OTP or 3D Secure verification step.
⚠️ The Government of India does not authorise any agent or intermediary to charge express or emergency eVisa fees. Any third-party site claiming otherwise is not sanctioned.
Submitting Your eVisa Application – Review, Tracking, Approval and Download
After payment confirmation, the form auto-submits – you receive a reference number and confirmation email. Processing takes approximately 4 business days (up to 7-10 during peak season). Apply at least 4 calendar days before travel, but no earlier than 30 days for an e-Tourist Visa or 120 days for an e-Business Visa. Apply at least 2 weeks before departure to allow a buffer for corrections.
How to Check Your eVisa Application Status
Track progress at indianvisaonline.gov.in → Visa Status → enter your Application ID, passport number, and date of birth. Possible statuses: Received, Under Processing, Granted, and Rejected.
Downloading and Printing Your Approved eVisa
Once status changes to Granted, download the Electronic Travel Authorization (ETA) as a PDF from the portal or email attachment. Print at least 2 hard copies (one for carry-on, one as backup) and save the PDF to your phone. Airlines may ask to see a printed ETA at check-in before boarding.
Common eVisa Application Mistakes and How to Avoid Rejection
Common rejection causes: photo errors, blurry passport scans, name mismatches, and applying too late. The India eVisa application process rejects applications most often for these correctable issues.
| Error | Why It Happens | How to Fix |
|---|---|---|
| Photo wrong dimensions or background | Not cropped to square or coloured background | Resize to 510×510 px, white background, 10 KB-1 MB, face 50-60% of frame |
| Passport scan blurry or cropped | Taken at angle or with flash glare | Rescan: all four corners visible, legible MRZ, 10 KB-300 KB, JPEG |
| Name mismatch form vs passport | Diacritics used or middle names omitted | Copy character-for-character, no diacritics, include all given names |
| Passport under 6 months validity at travel date | Expiry not checked against entry date | Renew passport before starting the India eVisa application process |
| Applied under 4 days or over 30/120 days before travel | Timing miscalculated | Apply at least 2 weeks before departure |
| Wrong port of entry | eVisa not accepted at all airports | Check 29+ designated airports list before selecting |
| Empty travel history | Countries visited left blank | Populate all countries visited in last 10 years |
| Wrong visa category | Confusion between eTV, e-Business, e-Medical | Reconfirm category matches travel purpose before submitting |
Before You Fly – e-Arrival Card, Self-Declaration and Immigration Essentials
After approval, complete the e-Arrival Card (within 72 hours before arrival) at boi.gov.in or the Su-Swagatam mobile app, and the Self-Declaration Form at airsuvidha.civilaviation.gov.in before reaching immigration counters. The e-Arrival Card is mandatory for foreign passengers and OCI/eOCI holders – it is an arrival information form, not a visa.
At immigration on first entry into India, expect biometric capture – fingerprint scanning and a facial photograph taking approximately 5 minutes, with no pre-registration required. Remove glasses and head coverings beforehand.
Carry checklist: printed eVisa (2 copies), passport (≥6 months validity, ≥2 blank pages), return flight booking, hotel confirmation.
Avoiding Scams – Third-Party Websites vs the Genuine eVisa Portal
The only legitimate application portal for the India eVisa application process is indianvisaonline.gov.in, managed by the Bureau of Immigration. The Indian government does not authorise any agent to charge express or emergency eVisa fees.
Red-flag indicators: sites charging $100-$250+ versus genuine fees of ~$25-$80, URLs like .in-visa.com or .org-apply.com, and claims of being a government service. If you have already paid a scam site, report it to the cybercrime portal.
One example of a commercial third-party service is evisa4u (evisaindia.co.uk), operated by GMEX IT & Management Services Ltd (Company No. 07751885), registered at Rockware Business Centre, 5 Rockware Avenue, Greenford UB6 0AA, London, UK – a private company, not a government entity.
India eVisa Application Process – Frequently Asked Questions
How long does it take to get an India eVisa in 2026?
The standard processing time for an India eVisa is approximately 4 business days. During peak season, processing can take up to 7-10 days.
Do British citizens need an eVisa to visit India?
Yes, all UK passport holders must obtain an India eVisa before travelling. There is no visa-on-arrival exemption for British citizens.
How much does an India eVisa cost for UK travellers?
A 30-day e-Tourist Visa costs ~$25 USD (~£20 GBP), a 1-year eTV is ~$40 USD (~£32 GBP), a 5-year eTV is ~$80 USD (~£64 GBP). e-Business visas cost ~$80 USD and e-Medical visas ~$25 USD. Always verify current fees on the portal.
Can I apply for an India eVisa if my passport expires in less than 6 months?
No. The minimum passport validity required is 6 months from the date of entry into India, with at least 2 blank pages for immigration stamps.
How do I save my eVisa application and continue later using the Temporary Application ID?
During registration, the portal generates a 15-digit Temporary Application ID. Use it to resume via “Complete Partially Filled Application” on the portal.
Which Indian airports accept eVisa entry from the UK?
29+ international airports accept eVisa entry, including Delhi (DEL), Mumbai (BOM), Chennai (MAA), Kolkata (CCU), Bengaluru (BLR), and Hyderabad (HYD). Select cruise seaports (Mumbai, Goa) also accept eVisa arrivals.
What happens if my India eVisa application is rejected?
Review the specific error in the Common Mistakes table above, correct the information or documents, and reapply. Most rejections stem from photo specs, blurry scans, or name mismatches.
Will I need to give fingerprints at Indian immigration?
Yes, on first entry into India, you undergo biometric capture: fingerprint scanning and a facial photograph, taking ~5 minutes. No pre-registration required.
What is the e-Arrival Card, and is it different from the eVisa?
The e-Arrival Card is a mandatory arrival information form, not a visa. Complete it within 72 hours before arrival via boi.gov.in or the Su-Swagatam mobile app.
Can I apply for an India eVisa through a third-party website?
Third-party visa-assistance agencies exist, but the Indian government does not authorise any agent to charge express or emergency eVisa fees. Apply directly through indianvisaonline.gov.in to avoid overcharges.
How far in advance can I apply for an India eVisa before my trip?
Apply at least 4 calendar days before travel. Maximum lead time: 30 days for an e-Tourist Visa, 120 days for an e-Business Visa.
Why was I charged more than the stated eVisa fee on the payment screen?
The Indian banking gateway (e.g., SBI ePay) applies a card surcharge of ~2.5-3.5% above the listed visa fee. PayPal is not accepted; only credit cards, debit cards, and payment wallets are supported.